Butter is a staple in kitchens around the world, known for its rich flavor and versatility. Two essential techniques that every home cook should master are melting and browning butter. Melting butter is a simple process but requires attention to avoid burning. Browning butter, on the other hand, can elevate the flavor of your dishes, imparting a nutty and aromatic profile. Understanding these techniques not only enhances your cooking skills but also improves the quality of your culinary creations.
Whether you are baking, sautéing, or finishing a dish, perfectly melted or browned butter can make a significant difference. This article will delve into the best techniques for melting and browning butter, tips to prevent burnt butter, and proper storage methods to ensure your butter remains fresh and flavorful.

Melting Butter
Melting butter is often the first step in many recipes, from baking to cooking sauces. However, achieving perfectly melted butter without separating the milk solids from the fat requires some finesse. Properly melted butter integrates seamlessly into recipes, ensuring consistent flavor and texture.
Stovetop Method
The stovetop method is the most traditional way to melt butter.
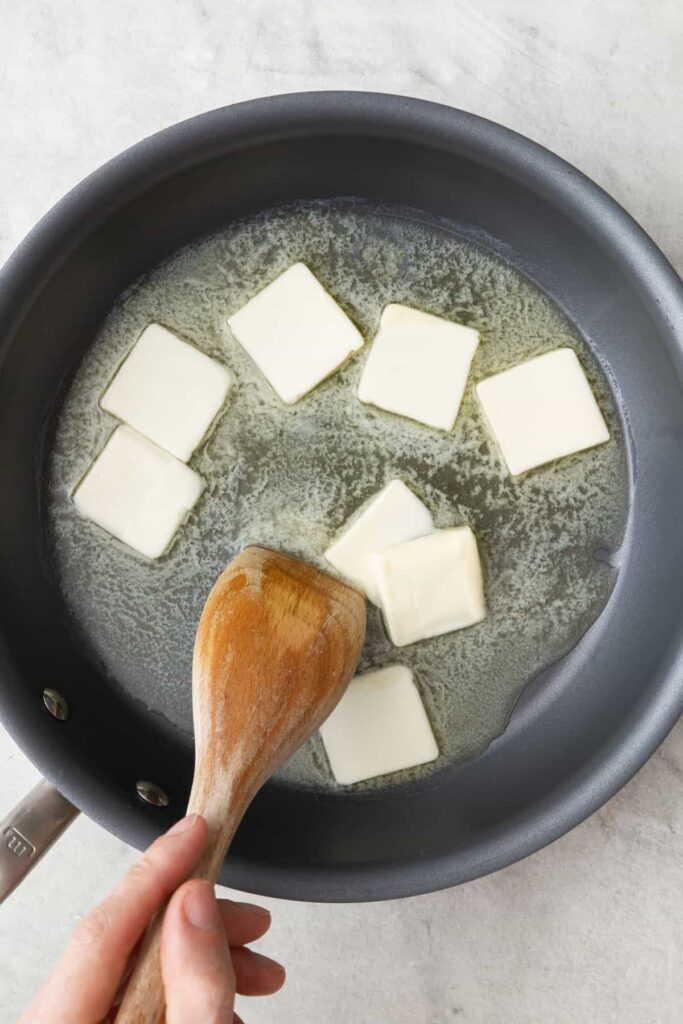
- Choose the Right Pan: Use a heavy-bottomed pan to distribute heat evenly, preventing the butter from burning. A non-stick pan can also help in reducing the chances of sticking and burning.
- Cut Butter into Pieces: Cutting the butter into smaller pieces allows it to melt more evenly and quickly. This step is particularly important when you need to melt a large quantity of butter.
- Low Heat: Place the pan over low heat to melt the butter slowly. Stir frequently to ensure even melting and to prevent the milk solids from settling at the bottom and burning. Patience is key here; melting butter too quickly can lead to separation.
- Monitor Consistency: Remove the pan from heat as soon as the butter is fully melted to avoid overheating. Overheating can cause the butter to break down and separate into oil and milk solids.
Example Recipes:
- Cookies: Many cookie recipes require melted butter for a chewy texture.
- Sauces: Melted butter is a base for various sauces, such as hollandaise and beurre blanc.
Microwave Method
The microwave method is quick and convenient but requires careful monitoring.
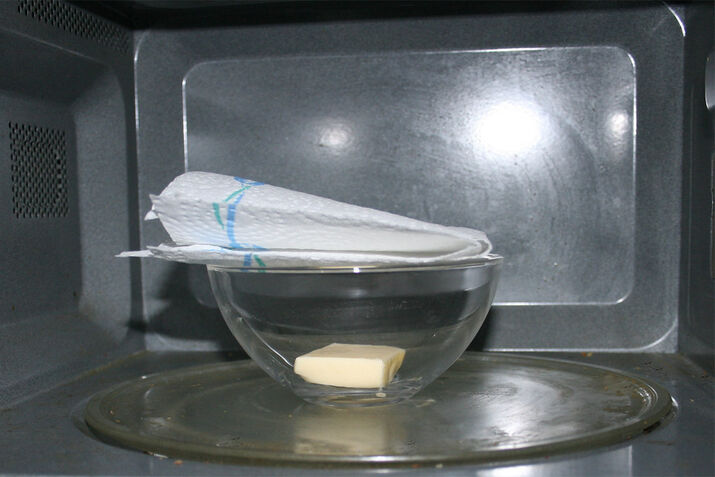
- Use a Microwave-Safe Bowl: Place the butter in a microwave-safe bowl. Glass or ceramic bowls work best.
- Cover with a Paper Towel: Covering the bowl with a paper towel helps contain any splatters. This step keeps your microwave clean and ensures even melting.
- Heat in Short Intervals: Microwave the butter on low or medium power in 10-15 second intervals, stirring between each interval to ensure even melting. Adjust the power setting if necessary to prevent overheating.
- Watch Closely: Be vigilant to prevent the butter from overheating and separating. Microwaves can heat unevenly, so stirring is crucial.
Example Recipes:
- Quick Sauces: Perfect for melting butter quickly when making a sauce on the fly.
- Baking: Ideal for quickly melting butter for batters and doughs.
Double Boiler Method
For more delicate recipes, the double boiler method is ideal.
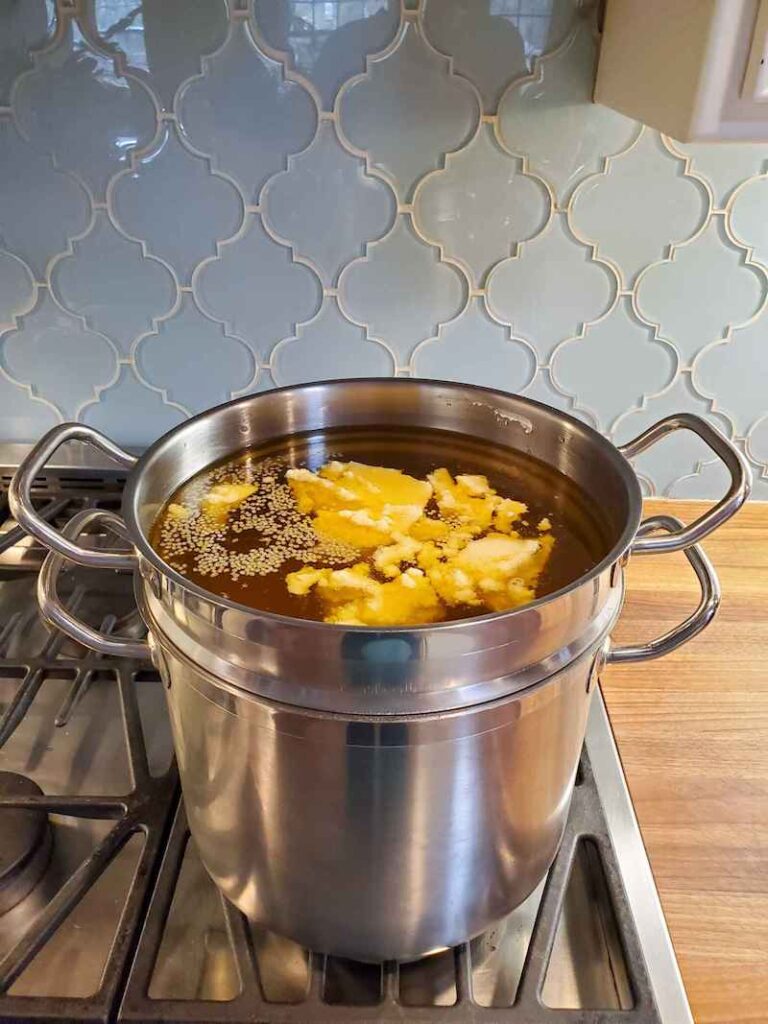
- Set Up Double Boiler: Place a heatproof bowl over a pot of simmering water, ensuring the bowl doesn’t touch the water. This setup provides gentle, indirect heat.
- Add Butter to Bowl: Add the butter to the bowl, stirring frequently. The steam from the simmering water will melt the butter slowly.
- Control Heat: The indirect heat from the simmering water will gently melt the butter, reducing the risk of burning or separating. This method is particularly useful for recipes requiring careful temperature control.
Example Recipes:
- Delicate Sauces: Such as hollandaise, where precise temperature control is essential.
- Custards and Puddings: Where gentle melting prevents the butter from curdling.
Browning Butter
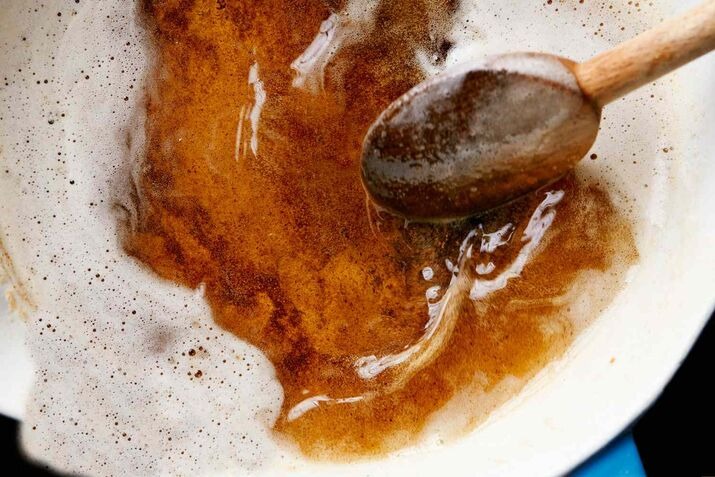
Browning butter, also known as “beurre noisette,” is a technique that can add a deep, nutty flavor to both sweet and savory dishes. The process involves cooking the butter until the milk solids turn golden brown. This transformation enhances the butter’s flavor profile, making it a versatile ingredient for various culinary applications.
Stovetop Method
The stovetop method is the most common way to brown butter.
- Use a Light-Colored Pan: A light-colored or stainless steel pan allows you to see the color change in the butter more clearly. Avoid non-stick pans as they can make it difficult to monitor the browning process.
- Cut Butter into Pieces: Smaller pieces melt more evenly. This helps in achieving a consistent browning without burning.
- Medium Heat: Melt the butter over medium heat, stirring constantly. Medium heat ensures that the butter browns evenly without burning.
- Monitor Color and Aroma: The butter will foam and sizzle. As the foam subsides, watch closely for the milk solids to turn golden brown and release a nutty aroma. The aroma is a good indicator that the butter is properly browned.
- Remove from Heat: Once browned, immediately remove the pan from heat to prevent burning. Transfer to a heatproof bowl to stop the cooking process.
Example Recipes:
- Pasta Dishes: Browned butter adds depth to simple pasta dishes.
- Baked Goods: Enhances the flavor of cookies, cakes, and pastries.
- Vegetables: Drizzling browned butter over roasted vegetables adds a rich, nutty flavor.
Brown Butter Variations
Brown butter can be customized with additional flavors.
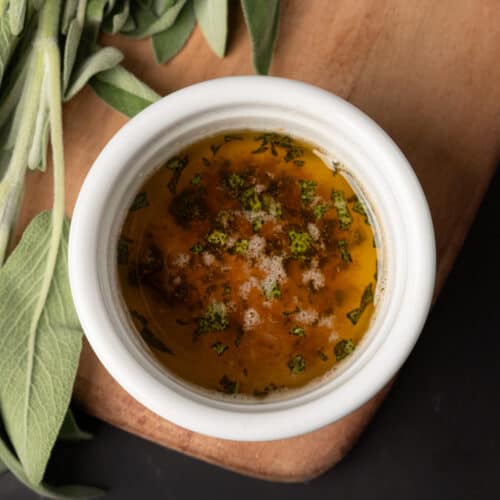
- Herb-Infused Brown Butter: Add fresh herbs such as sage or thyme to the butter as it browns for an aromatic twist. These herbs complement the nutty flavor of the browned butter.
- Nut-Infused Brown Butter: Add chopped nuts to the butter for added texture and flavor. Nuts like almonds, hazelnuts, and pecans work well.
- Spiced Brown Butter: Incorporate spices like cinnamon or nutmeg for a warm, sweet profile. This variation is particularly good in desserts.
Example Recipes:
- Herb-Infused: Perfect for drizzling over meats or vegetables.
- Nut-Infused: Great for enhancing baked goods or as a topping for oatmeal.
- Spiced: Ideal for incorporating into holiday baking recipes.
Preventing Burnt Butter
Burnt butter can ruin the flavor of your dish. Here are some tips to prevent this common kitchen mishap.

Control the Heat
- Low and Slow: Always start with low to medium heat to allow for gradual melting and browning. Sudden high heat can cause the butter to burn quickly.
- Constant Stirring: Stir the butter constantly to ensure even heat distribution. This prevents hot spots and ensures that the milk solids brown evenly.
Choose the Right Equipment
- Use Heavy-Bottomed Pans: These pans distribute heat more evenly and reduce the risk of hot spots. They are ideal for both melting and browning butter.
- Light-Colored Pans: Light-colored pans make it easier to monitor the color change in the butter. This visual cue helps prevent burning.
Timing and Attention
- Stay Vigilant: Never leave butter unattended on the stove. The process from melting to burning can happen quickly.
- Quick Transfer: Once browned, transfer the butter to a heatproof bowl immediately to halt the cooking process. This step is crucial to prevent carryover cooking.
Troubleshooting Tips:
- If the butter starts to burn, reduce the heat immediately and continue stirring.
- If the butter separates, you can try whisking it back together off the heat.
- Using clarified butter (ghee) can also help, as it has a higher smoke point and removes the risk of burning milk solids.
Storing Melted and Browned Butter
Proper storage is crucial to maintaining the flavor and quality of melted and browned butter.
Short-Term Storage
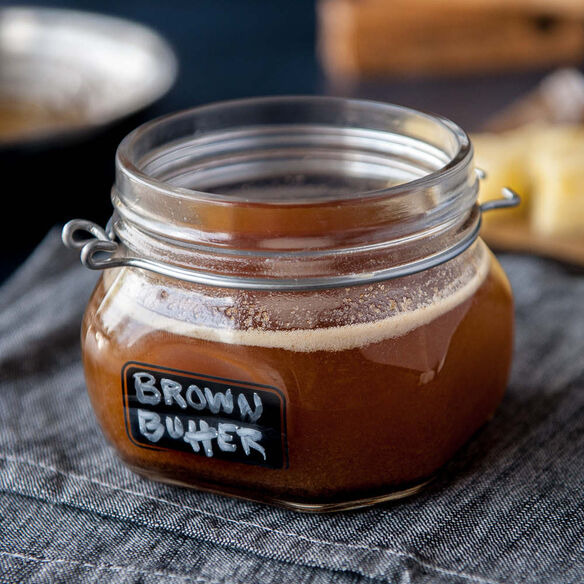
- Refrigeration: Store melted or browned butter in an airtight container in the refrigerator for up to two weeks. Ensure the container is sealed properly to prevent the absorption of other odors.
- Labeling: Label the container with the date to keep track of freshness. This is especially important if you use both melted and browned butter frequently.
Long-Term Storage
- Freezing: For longer storage, freeze melted or browned butter in ice cube trays. Once frozen, transfer the cubes to a freezer-safe bag or container. This method allows you to use only what you need without thawing large quantities.
- Portion Control: Freezing in small portions allows for easy use in recipes without thawing large amounts. This is particularly useful for recipes requiring precise amounts of butter.

Reheating Tips
- Microwave: Reheat small amounts of butter in the microwave using short intervals. Be cautious to avoid overheating.
- Stovetop: Reheat on the stovetop over low heat, stirring frequently to maintain the consistency. This method is best for larger quantities.
Example Uses:
- Frozen Browned Butter Cubes: Perfect for adding to sauces or finishing dishes.
- Reheated Melted Butter: Ideal for baking or cooking without waiting for butter to come to room temperature.
FAQ
Conclusion
Mastering the techniques for melting and browning butter can elevate your culinary skills and enhance the flavor of your dishes. Whether you’re melting butter for a sauce or browning it for a rich, nutty addition to your recipes, these methods will ensure you achieve perfect results every time. Remember to control the heat, choose the right equipment, and store your butter properly to maintain its quality. With these tips and techniques, you’ll be well-equipped to make the most of this versatile kitchen staple. Happy cooking!
Disclosure: Our blog contains affiliate links to products. We may receive a commission for purchases made through these links. However, this does not impact our reviews and comparisons. We try our best to keep things fair and balanced, in order to help you make the best choice for you.


